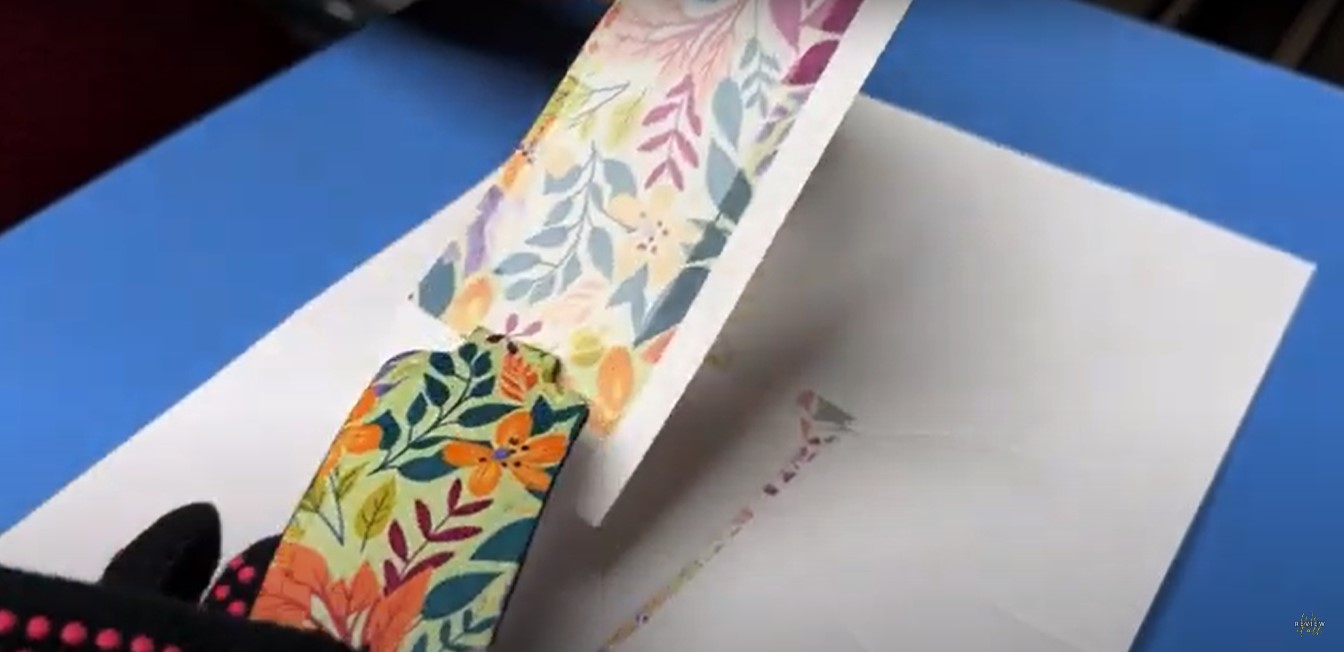
Imagine, a blank canvas waiting to be transformed into a personalized masterpiece that not only adds a touch of style but also reflects your unique personality. Today, we delve into the world of sublimation chapstick holders – a creative endeavor that allows women to turn a simple accessory into a work of art. Join us as we uncover the step-by-step process, unlocking the secrets to crafting your own personalized chapstick holders.
1. Gathering Your Materials
Before you embark on your sublimation journey, ensure you have all the necessary materials in place. Here’s a quick checklist:
- Blank Chapstick Holders: Choose high-quality, blank chapstick holders as your canvas.
- Sublimation Ink: Invest in vibrant and long-lasting sublimation ink for optimal results.
- Heat Press: A reliable heat press is crucial for transferring your design onto the holders.
- Design Software: Familiarize yourself with design software to create your unique patterns and images.
- Protective Paper: Use heat-resistant protective paper to prevent any ink transfer mishaps.
2. Creating Your Design
The magic begins with your design. Whether it’s a favorite pattern, a personal illustration, or even a cherished photograph, let your creativity shine:
- Digital Artistry: Use design software to create a digital representation of your vision.
- Sizing and Placement: Consider the size and placement of your design on the chapstick holder.
- Mirror Image: Don’t forget to mirror your image before printing to ensure the final result is as intended.
3. Printing and Preparing
With your design ready, it’s time to bring it to life. Follow these steps:
- Load Your Printer: Load the sublimation paper with your mirrored design into the printer.
- Adjust Printer Settings: Ensure your printer settings are optimized for sublimation printing.
- Printing Process: Print your design onto the sublimation paper with precision.
4. Sublimating Your Chapstick Holder
Now comes the exciting part – transferring your design onto the chapstick holder:
- Secure Placement: Place your chapstick holder on the heat press, ensuring it’s securely in place.
- Align and Press: Align your printed sublimation paper with the holder’s surface and press using the heat press.
- Timing is Key: Follow recommended time and temperature settings for optimal sublimation results.
5. Video and Resources
For a more visual guide, consider exploring video tutorials and additional resources. Watching the process in action can provide valuable insights and tips for a successful sublimation:
- Online Tutorials: Seek out online tutorials that showcase the sublimation process for chapstick holders.
- Video Demonstrations: Visualize each step through video demonstrations to enhance your understanding.
As a matter of fact, we have a great chapstick holder sublimation video demonstration here:
How ChapstickHolder.com Can Help? we’re committed to helping you perfect the sublimation process. Our platform provides resources, tips, and a community where enthusiasts share their successful sublimation stories. Explore our offerings to enhance your sublimation journey.
Conclusion:
As you embark on your sublimation adventure, remember that the possibilities are as limitless as your imagination. With the right materials, a touch of creativity, and the guidance of resources, you can transform ordinary chapstick holders into personalized, wearable art. So, how will you unleash your creativity onto your chapstick holders?
Whether you’re crafting for yourself or creating thoughtful gifts for others, sublimation opens up a world of personalized possibilities. Embrace the process, enjoy the journey, and let your unique designs leave a lasting impression. The world of sublimation chapstick holders awaits – are you ready to make it your own?


